Debugging Python Operator Precedence With MacsBug
I’m a Capture the Flag (CTF) player with Shellphish, and last weekend our team participated in PlaidCTF 2020, an event organized by the Plaid Parliament of Pwning (PPP). As a pre-qualifier for the DEF CON CTF 2020, it’s historically been a fairly challenging competition–this year our team only managed to place 17th, slightly below our usual performance, as many of our team members were preoccupied with inconveniently-placed project deadlines. However, the rest of us had a great time working on the challenges; I helped solve two, golf.so and The Watness 2. golf.so was released early in the CTF and asked teams to create small shared libraries that would call execve("/bin/sh", ["/bin/sh"], ...) when LD_PRELOADed in to /bin/true; a number of us worked together to solve this fairly quickly, getting under 194 bytes (the requirement for the full 500 points) with some aggressive but straightforward segment overlapping, careful trimming of “required” but leniently checked fields, and stuffing of code into the remaining header bytes that were required but could be set to fairly arbitrary values. Some teams golfed it further to 136 bytes, although I’m not sure how (or why, beside bragging rights) they did so. The Watness 2 took longer and in my opinion was a bit more interesting, and this is the one we’ll be talking about here.
Forensics
CTF challenges usually come in a couple of varieties: among others there’s pwn, which often means that there’s a vulnerable binary running somewhere that you need to exploit to (normally) pop a shell and grab a flag, web, which often means there’s something wrong with a website or a database, crypto, where your RSA exponent is 3, or reversing, which means you have a black box with a flag hidden somewhere in it. As The Watness 2 was a reversing challenge, we were given the challenge title, a protracted snippet of prose that was entirely useless by PPP’s own admission, and .tar.gz that contained the thing we needed to reverse. This time we had one additional clue: last year, PlaidCTF ran a challenge called The .Wat ness, a WebAssembly-based implementation of a puzzle game inspired by The Witness, and we knew to expect something related this year.
Michele from our team took the first look at the challenge, and I joined in soon afterwards. Opening the archive, we hit our first clue: a single file named watness_2.sit–a StuffIt archive. It’s an obscure archive format but it’s instantly recognizable to anyone who’s done anything with classic Mac OS. The Unarchiver made quick work of expanding it, and we were left with one more file: game_cleaned.rc1, which Michele identified as a HyperCard stack. Before running a program, it’s often a good idea to poke around it to get some insight into what it does, so I downloaded a little Swift app called HyperCardPreview to take a peek inside. This let us take a look at the HyperTalk code for the stack, as well as its cards and resources. The code clearly implemented a game similar to The Witness in HyperCard, and it didn’t take long for us to zero in on the part of the code that was relevant to us:
on checkSolution
  global puzzle_id,path,constraints,flag_1,flag_2,flag_3
  watnesssolver constraints,path
  put the result into success
  if success = "true" then
    if puzzle_id = 1 then
      decoder path,"clrtffxpry"
      put the result into flag_1
    end if
    if puzzle_id = 2 then
      decoder path,"nyghq7xksg"
      put the result into flag_2
    end if
    if puzzle_id = 3 then
      decoder path,"ppyyvn}1{7"
      put the result into flag_3
    end if
  else
    send opencard to this cd
  end if
end checkSolution
watnesssolver didn’t show up anywhere else in the HyperTalk code, but looking into the stack’s resources, we found a number of XCMDs, one which had the same label:
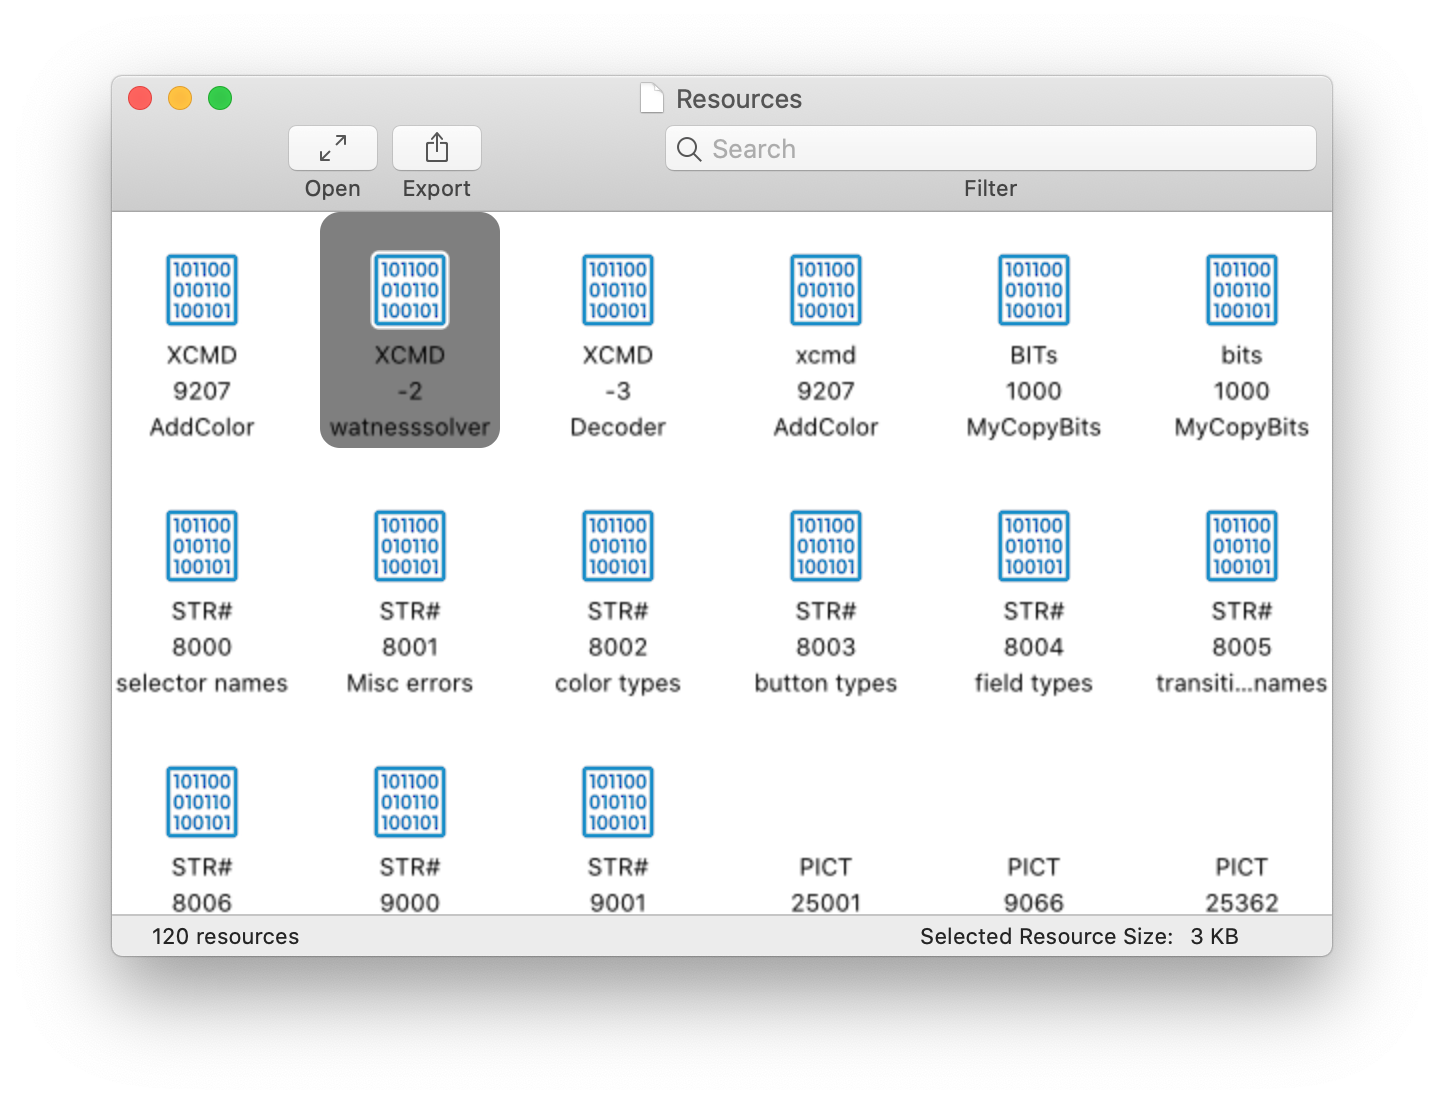
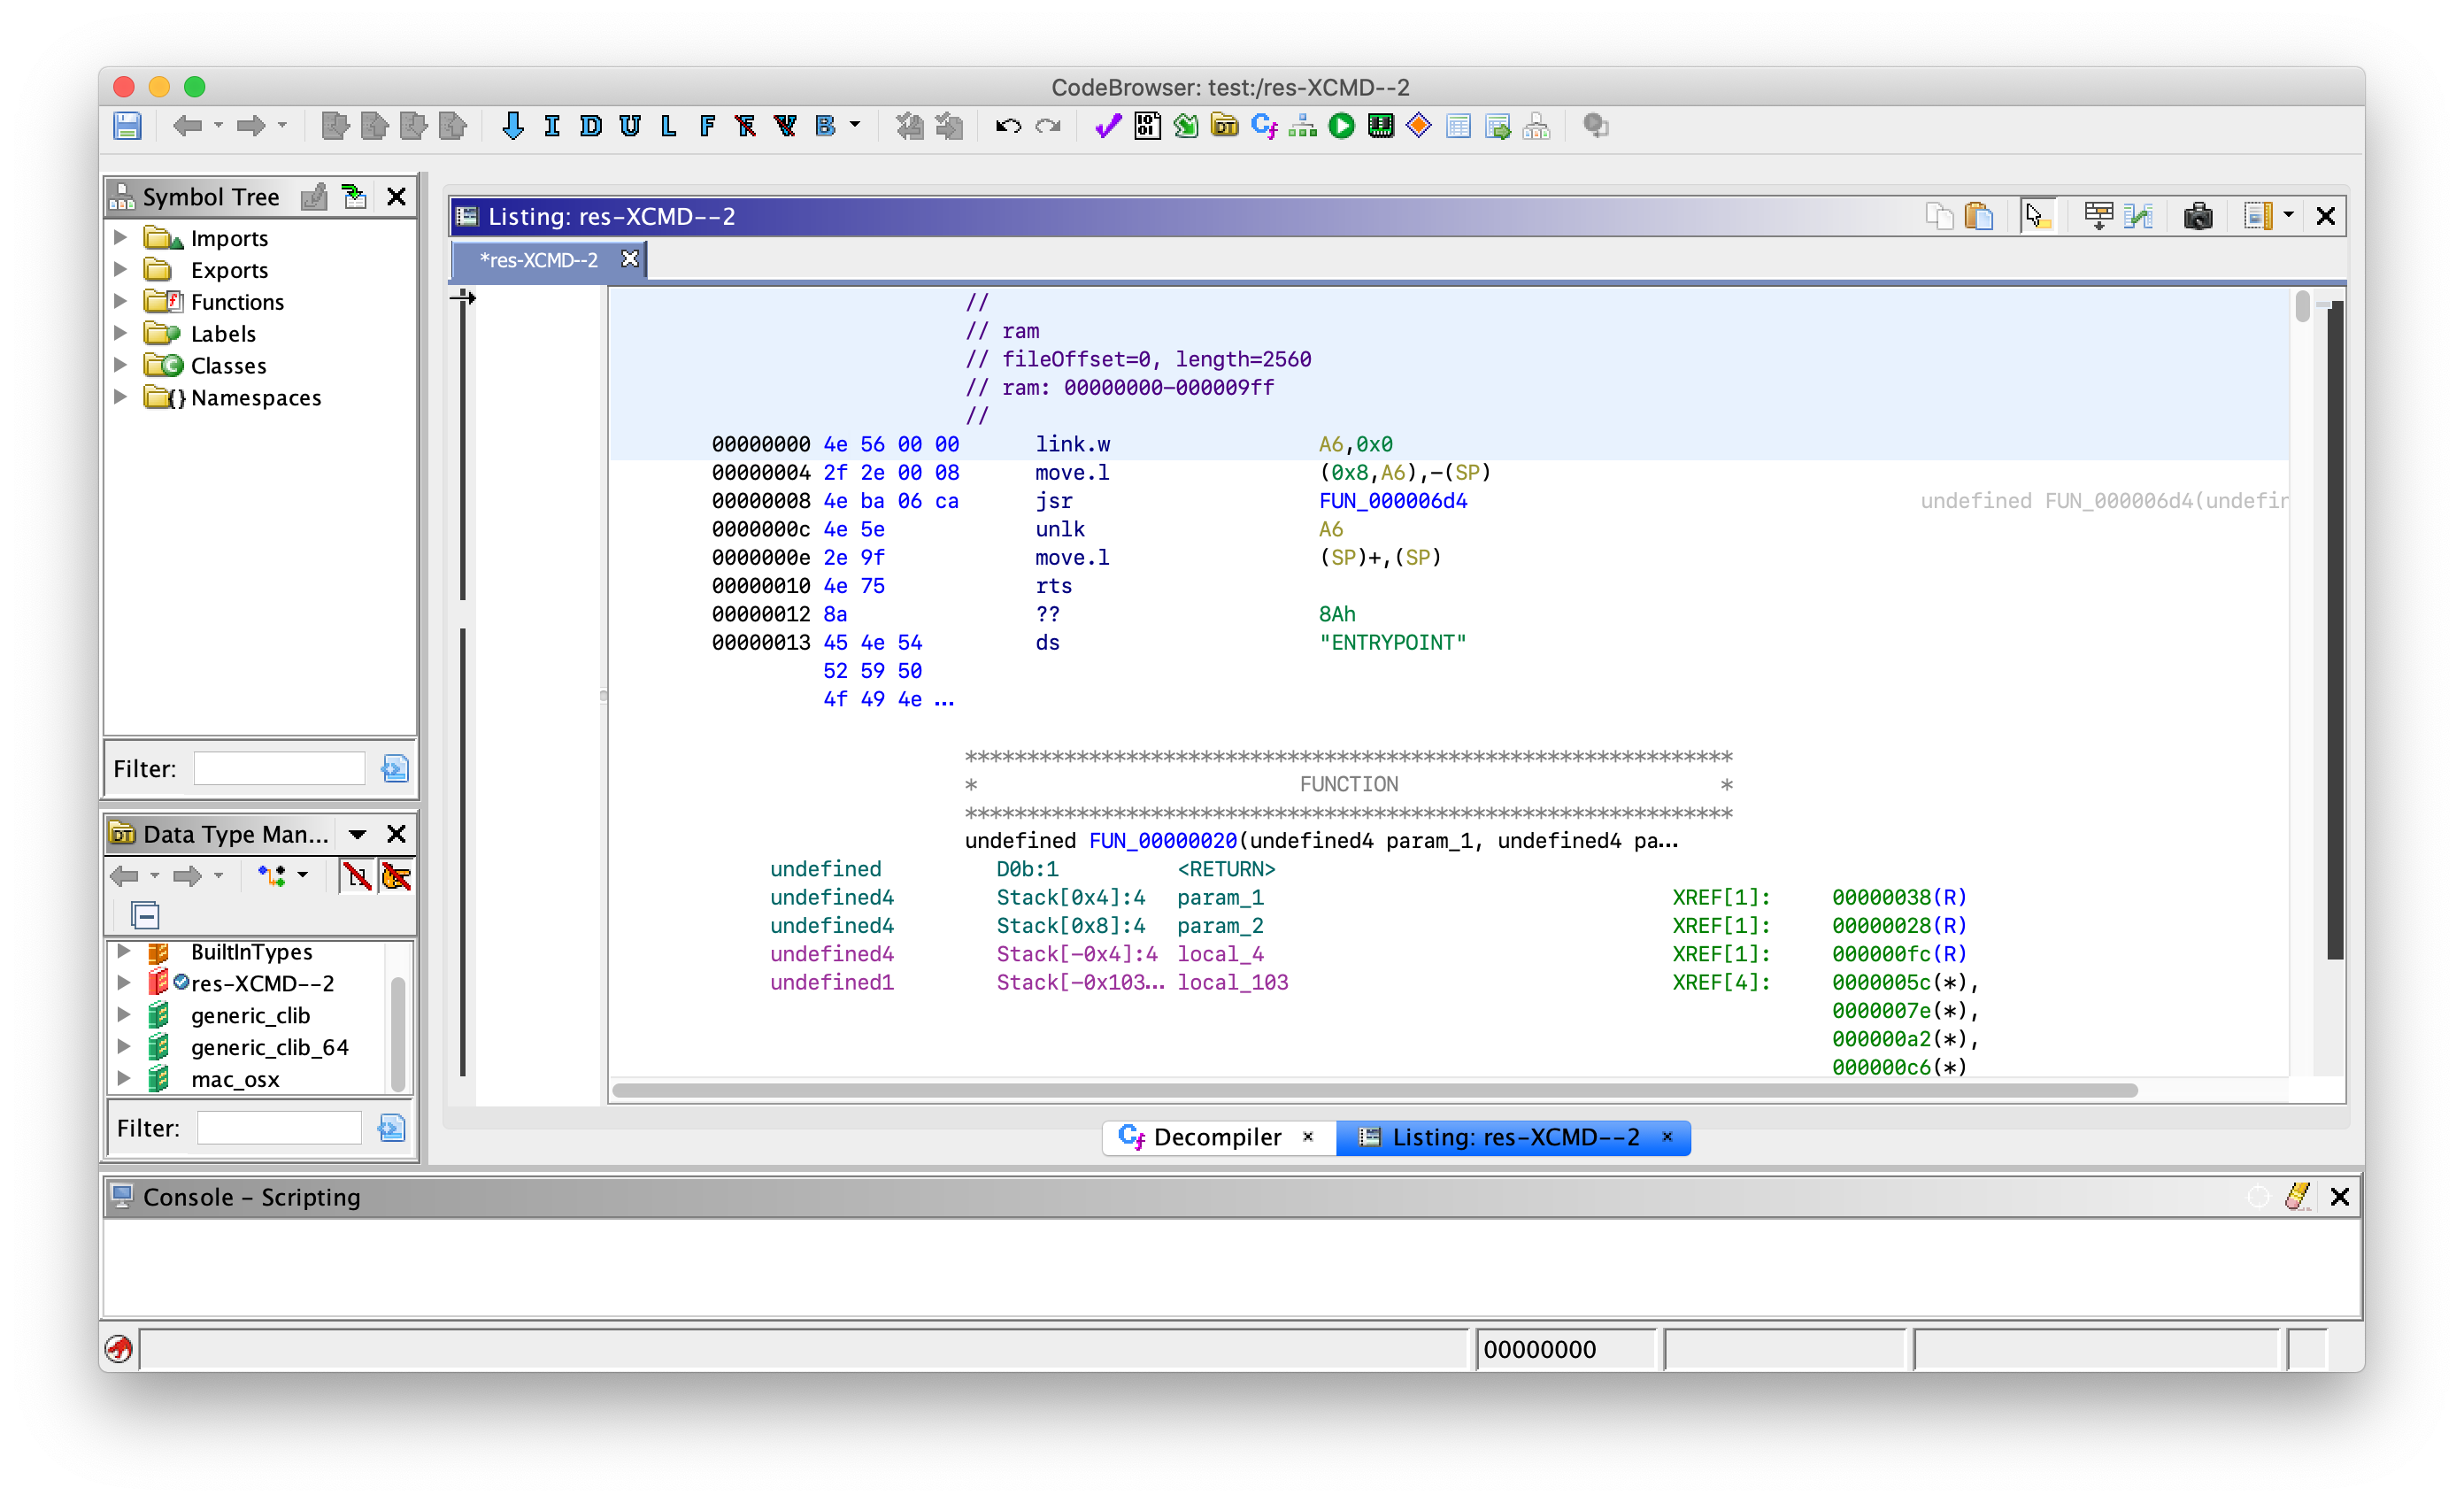
A quick search revealed that XCMD was the four-letter type code for some sort of executable plugin, so we tried loading it into a disassembler as a PowerPC blob, thinking to match the architecture that Apple was using at the time. That didn’t really work out, so on a hunch we tried again with the Motorola 68k loader. This proved to be much more sucessful: conveniently, pointing the disassembler at the very top of the file caused it to fall apart, revealing that the XCMD was largely position-independent and started code execution right from the top of the file:
Reversing
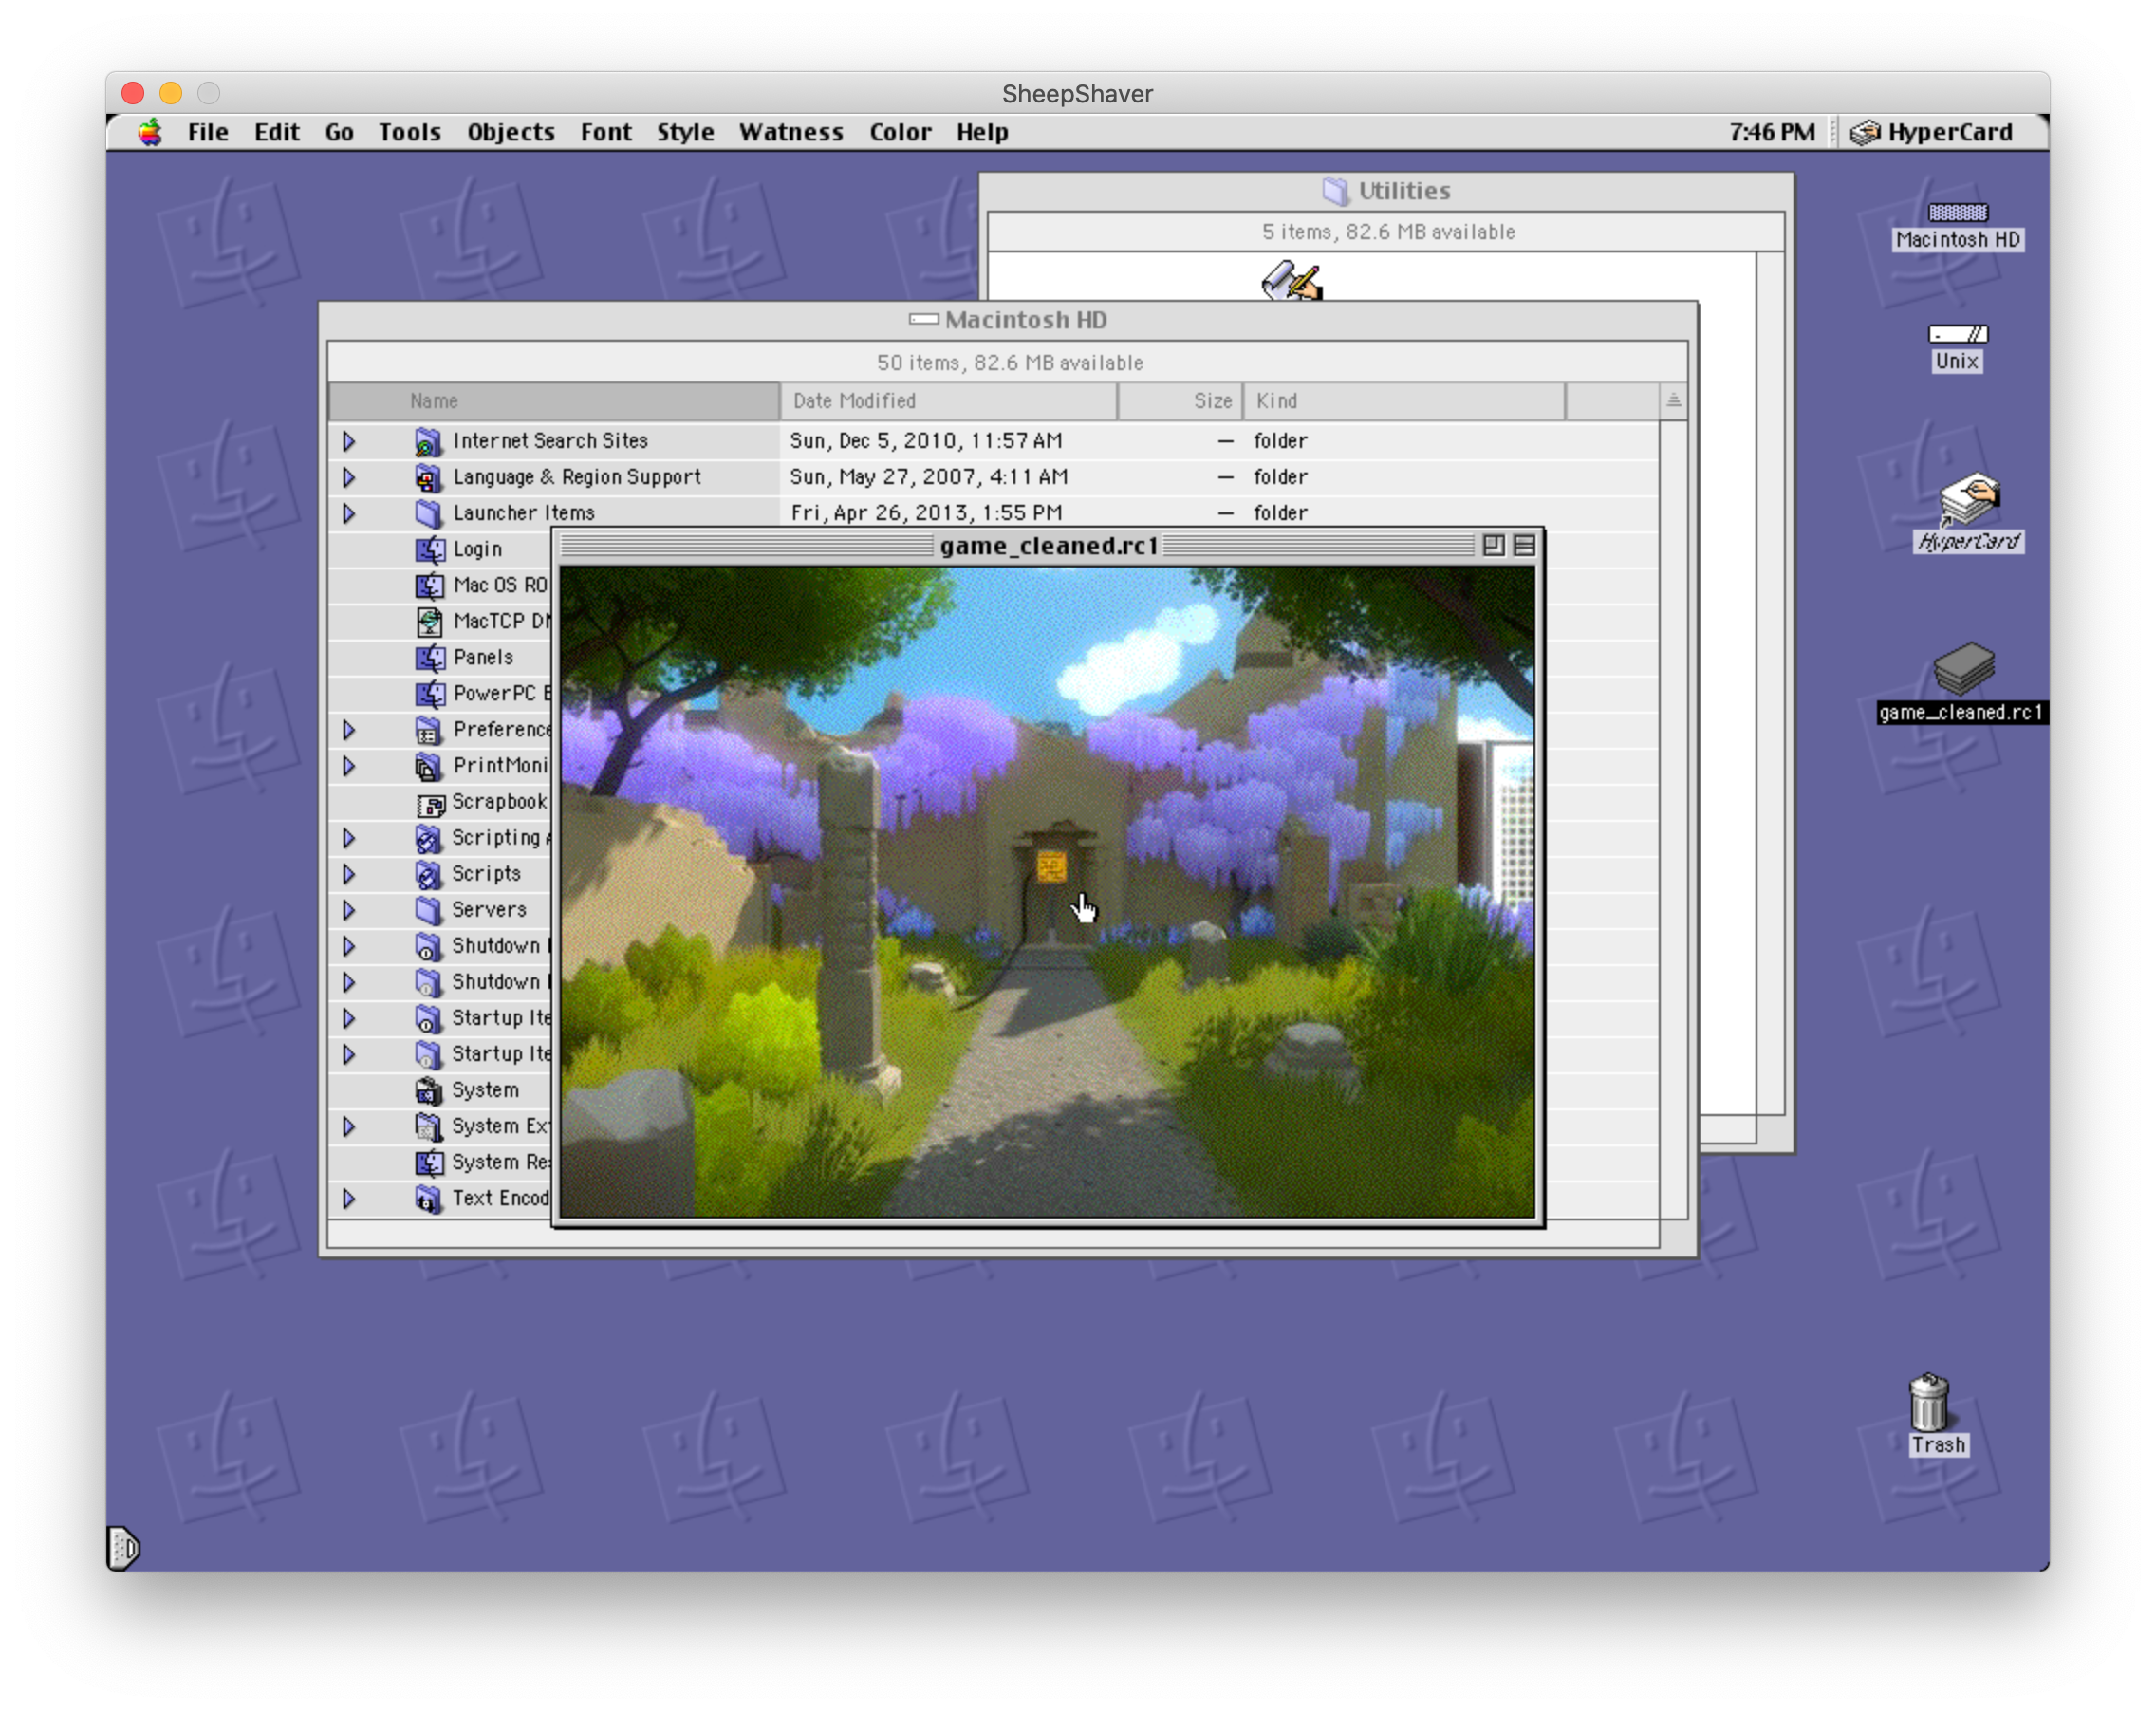
With CTF challenges, we’ve often had to cobble together toolchains to work with strange, obscure, or old platforms, so getting something that would run the stack was not too challenging: we already knew about SheepShaver, and a quick search gave us a prebuilt “sheepvm” that we could download and run immediately. By this time Michele had drifted off to bed (this was a 48 hour CTF, after all, and it was past 2 AM in Italy) but the promise of a challenge based on The Witness was enough to lure in Eric–in addition to his excellent blob reversing skills, he was one of the few team members who had actually played the game. He instantly recognized the screenshot I sent him from SheepShaver:
I hastened to send him a copy of the files I had used to run the emulator, but we hit upon a snag: the resource forks from before, which were necessary to run the stack, were handed transparently by my filesystem on my Mac, but on Eric’s Linux machine they would literally fall apart and become unusable. After fiddling a bit with sending DMGs back and forth, we realized that the HyperCard sheepvm actually had a copy of StuffIt expander on it, so Eric could just extract it inside the VM and keep the resource forks intact. With Eric busy playing the game and exploring its puzzles, I roped in Paul with the incentive of the 68k binary blob (we have somewhat strange interests) and got to reversing the XCMD. Paul quickly figured out that the XCMD was called with a pointer to some sort of context struct, the layout of which was not too difficult to find online; the remaining interface between the extension and any code outside of it was matched up to a file called HyperXCMD.h that we spotted online, showing that the calls were to EvalExpr and ZeroToPas (yes, those are Pascal functions, and yes, the last one converts a null-terminated string to a Pascal-style one). With that out of the way, we got to reversing the code inside the XCMD itself, which was organized a short list of named functions: ENTRYPOINT, BUILDAUTOMATON, GETNEIGHBORS, CHOOSEEMPTY, CHOOSERED, CHOOSEGREEN, CHOOSEBLUE, STEPAUTOMATON, ISRED, INITIALIZENODES, PERFORMMOVE, and SOLVER.
As we were reversing the functions, Eric found three puzzles and one final gate barred by three locks–fairly straightforwards, if not for the clearly impossible puzzles:
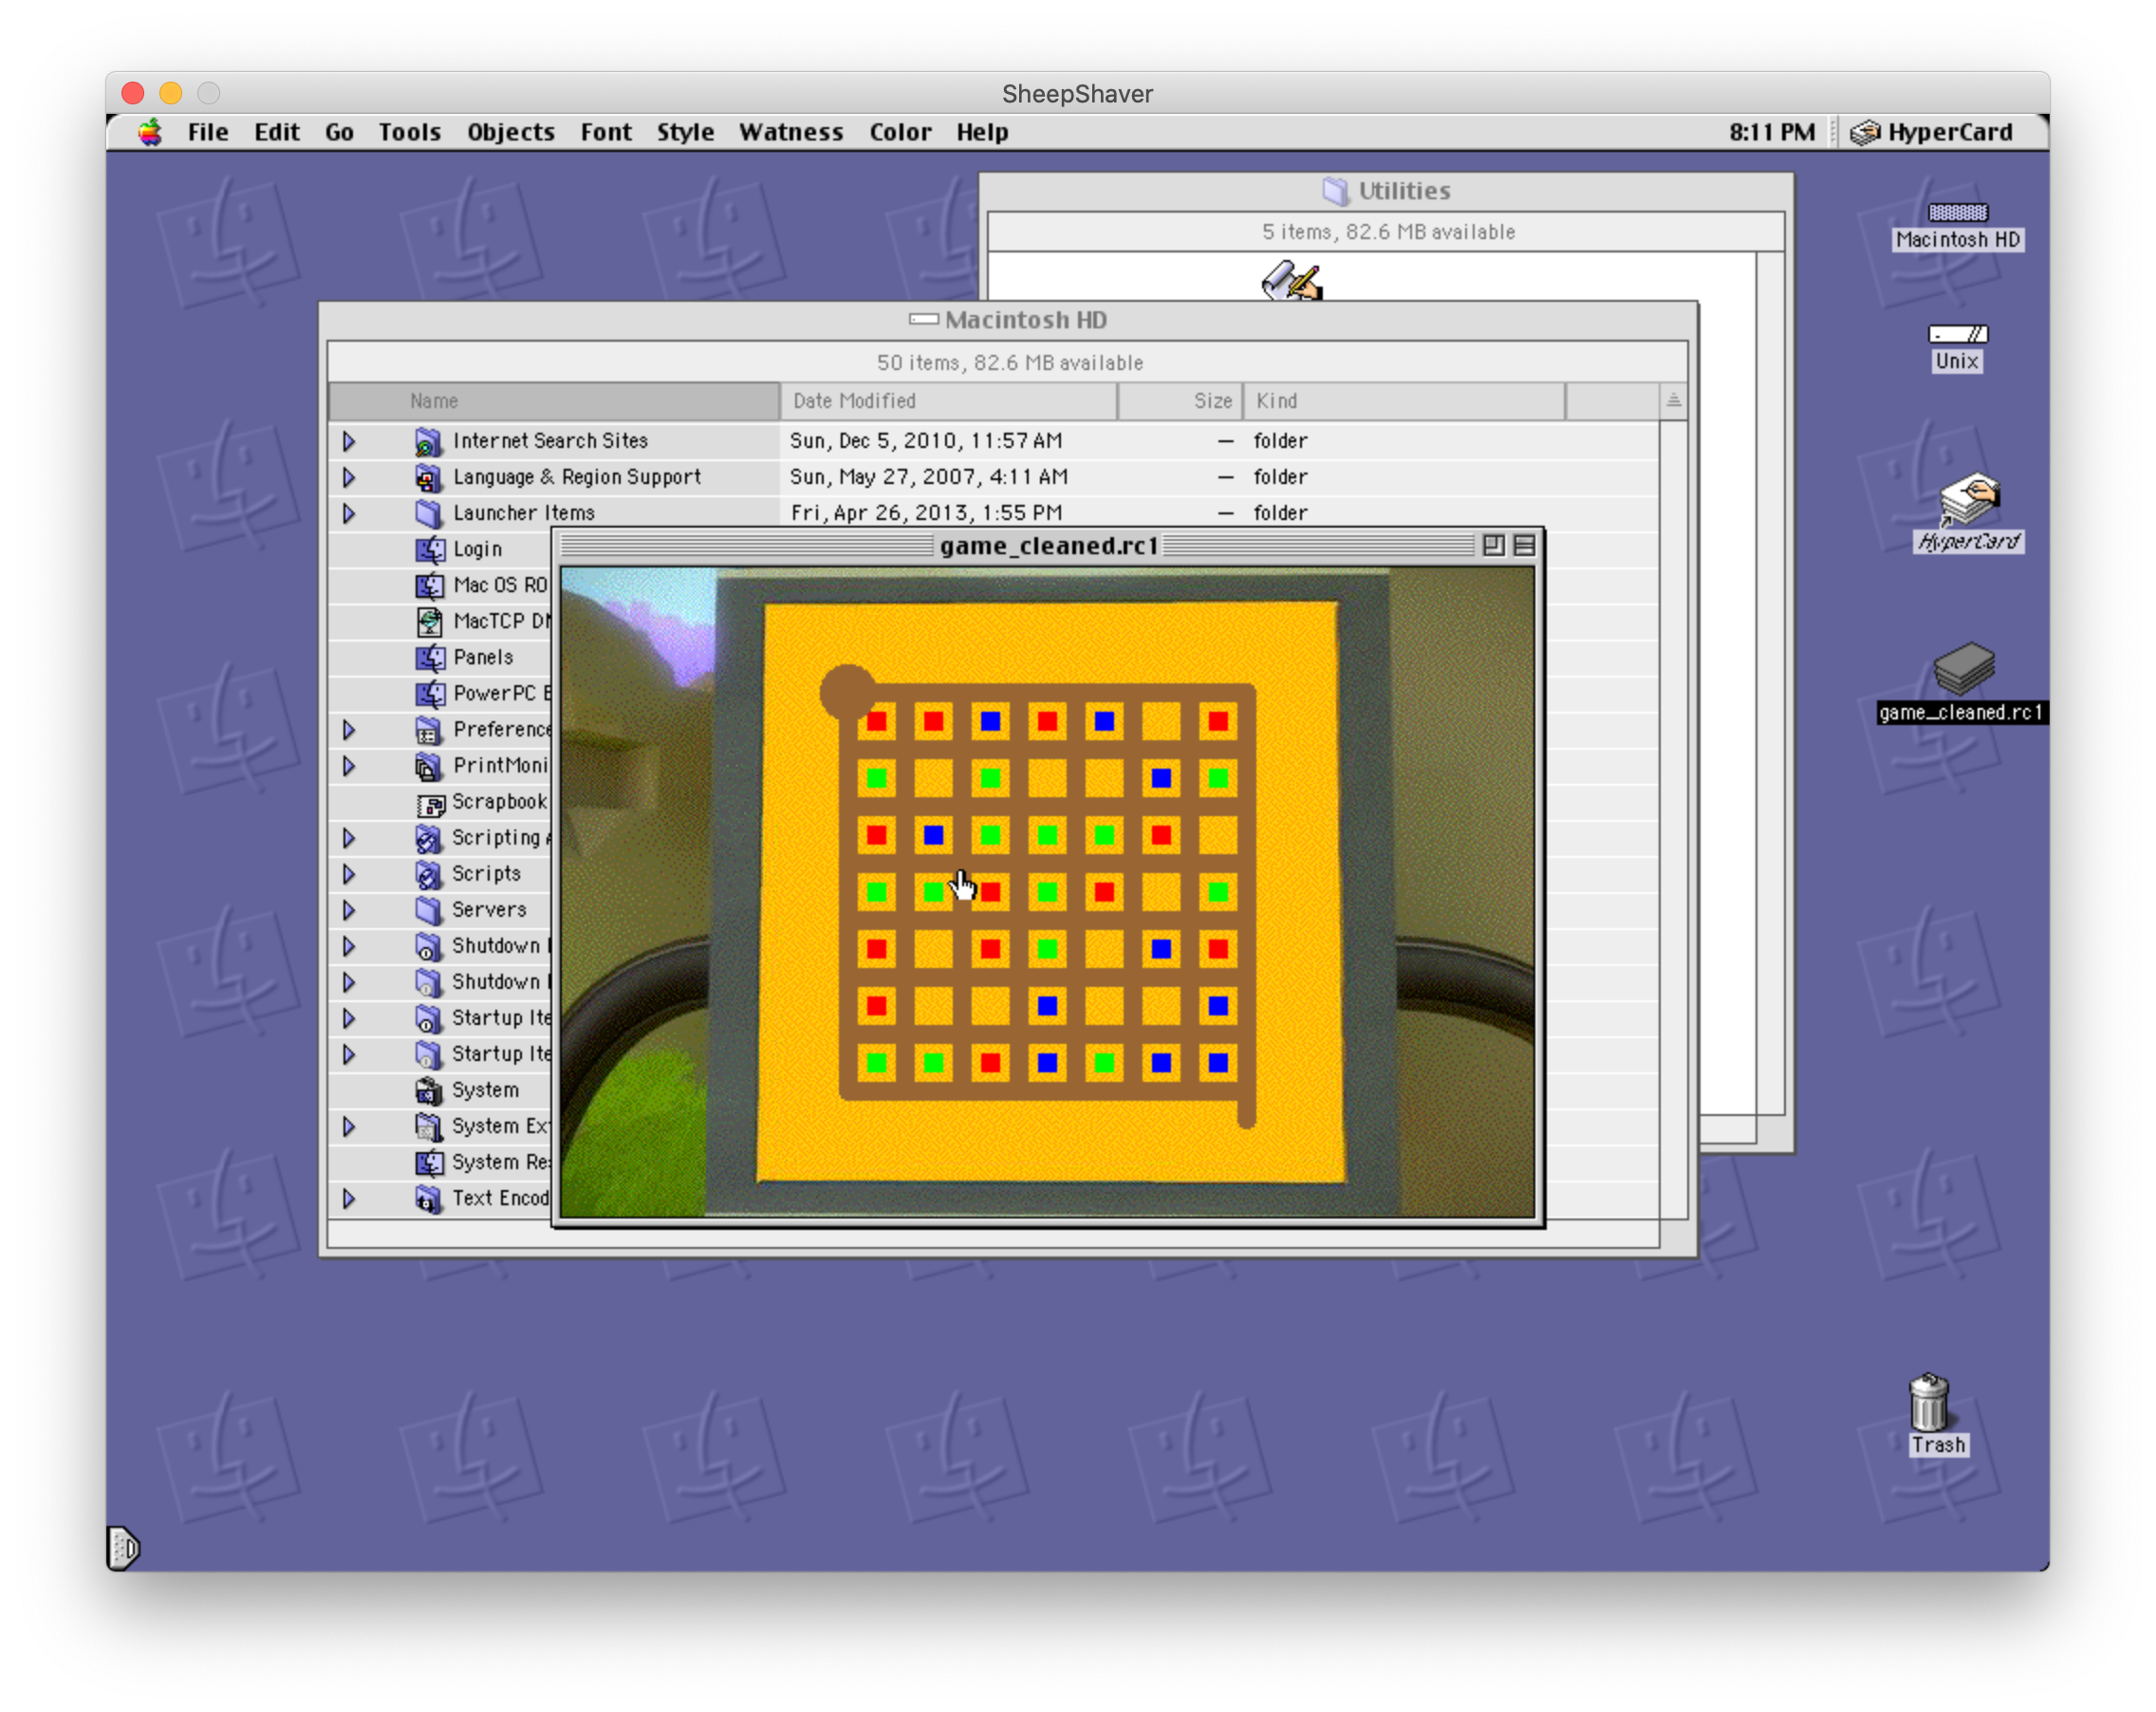
In The Witness, Eric explained, you can run into puzzles where the goal is to separate all “unlike” things from each other by drawing a path from start to finish on the grid. In the challenge’s puzzles, this was provably impossible, confirming our suspicions that there were other, hidden rules involved. Looking at PERFORMMOVE showed that the game wanted a path that always touched a red square–the only problem was that such a path was clearly impossible as well! Every time the function was run, however, it would call the STEPAUTOMATON function, so it was pretty clear what was going on: the board shown was simply the initial state to some sort of cellular automaton, and it would invisibly evolve as we moved along the board. We decided we needed to simulate the board outside of the game and try to find the path there. The CHOOSE* functions held the transformation rules, and we translated them as literally as possible to Python for our simulation, with Paul doing the first two cases and me doing the latter two:
if cur == Color.EMPTY:
    d0 = gn == 0
    d1 = bn == 0
    if (d0 and d1) == 0:
        if bn - gn < 0:
            out = Color.new(2)
        else:
            out = Color.new(3)
    else:
        out = Color.new(0)
elif cur == Color.RED:
    d0 = rn != 2
    d1 = rn != 3
    if (d0 and d1) == 0:
        d0 = bn == 0
        d1 = gn == 0
        if (d0 or d1) == 0:
            out = Color.new(1)
        else:
            out = Color.new(0)
    else:
        out = Color.new(0)
elif cur == Color.GREEN:
    if 4 - rn >= 0:
        if 4 - bn >= 0:
            d0 = rn == 2
            d1 = rn == 3
            if d0 or d1 == 0:
                out = Color.new(2)
            else:
                out = Color.new(1)
        else:
            out = Color.new(3)
    else:
        out = Color.new(0)
elif cur == Color.BLUE:
    if 4 - rn >= 0:
        if 4 - gn >= 0:
            d0 = rn == 2
            d1 = rn == 3
            if d0 or d1 == 0:
                out = Color.new(3)
            else:
                out = Color.new(1)
        else:
            out = Color.new(2)
    else:
        out = Color.new(0)
All that remained was to extract the three boards from the game. I dug around a bit in the card scripts to try to find them, but Paul managed to grab them before I could by running strings on the file (there were a couple of duplicates):
$ strings game_cleaned.rc1 | grep -E 'put "[rgb ]+" into constraints' | sort -u
put "rbr  bbggrgrggb   bggbb b  b bbrbbgg gbrrbgrbbb g" into constraints
put "rbrr rgb rb  r brgrbrgb  grrgbbg grg bgrg  bbgrbg" into constraints
put "rrbrb rg g  bgrbgggr ggrgr gr rg brr  b  bggrbgbb" into constraints
Debugging
While we had tried our best to transcribe the automaton’s rules accurately, we found that the board in our simulation would run out of red squares within a couple of steps, making it impassible. Clearly there was something wrong with our Python script (you may have found it already), but we couldn’t see anything obviously incorrect so we set out to debug the issue by comparing our results with the actual program’s. As the XCMD had few external dependencies, this process was made somewhat more straightforward.
While Paul and Eric split off to try to emulate it in Unicorn, I sat down to try to get a debugger on the process using MacsBug.
I managed to find a copy of MacsBug and install it in SheepSaver, but had a hard time figuring out how to get it to trigger: on real Macs you’d press a key (the “programmer key”) that would send a non-maskable interrupt, or the Command and Power buttons, but neither was easy to figure out how to do in the emulator. I eventually found a forum post that contained SDL2 Cocoa keybindings, which I tweaked a little to remap an unused key to power, but this just caused SheepSaver to crash. The emulator has a number of flags that you can pass it in from the command line with hopeful names like --ignoresegv and --ignoreillegal, but neither seemed to work so I gave up on using SheepSaver. Meanwhile, while I wasn’t directly involved in what they were doing, I knew Eric and Paul had a harness up and were working on some unimplemented opcode, but they ran into emulation fidelity issues that prevented accurate simulation. With both of them on that, I figured it was time to try something else, so I found a guide on installing Mac OS 9 in QEMU and decided to go through with that.
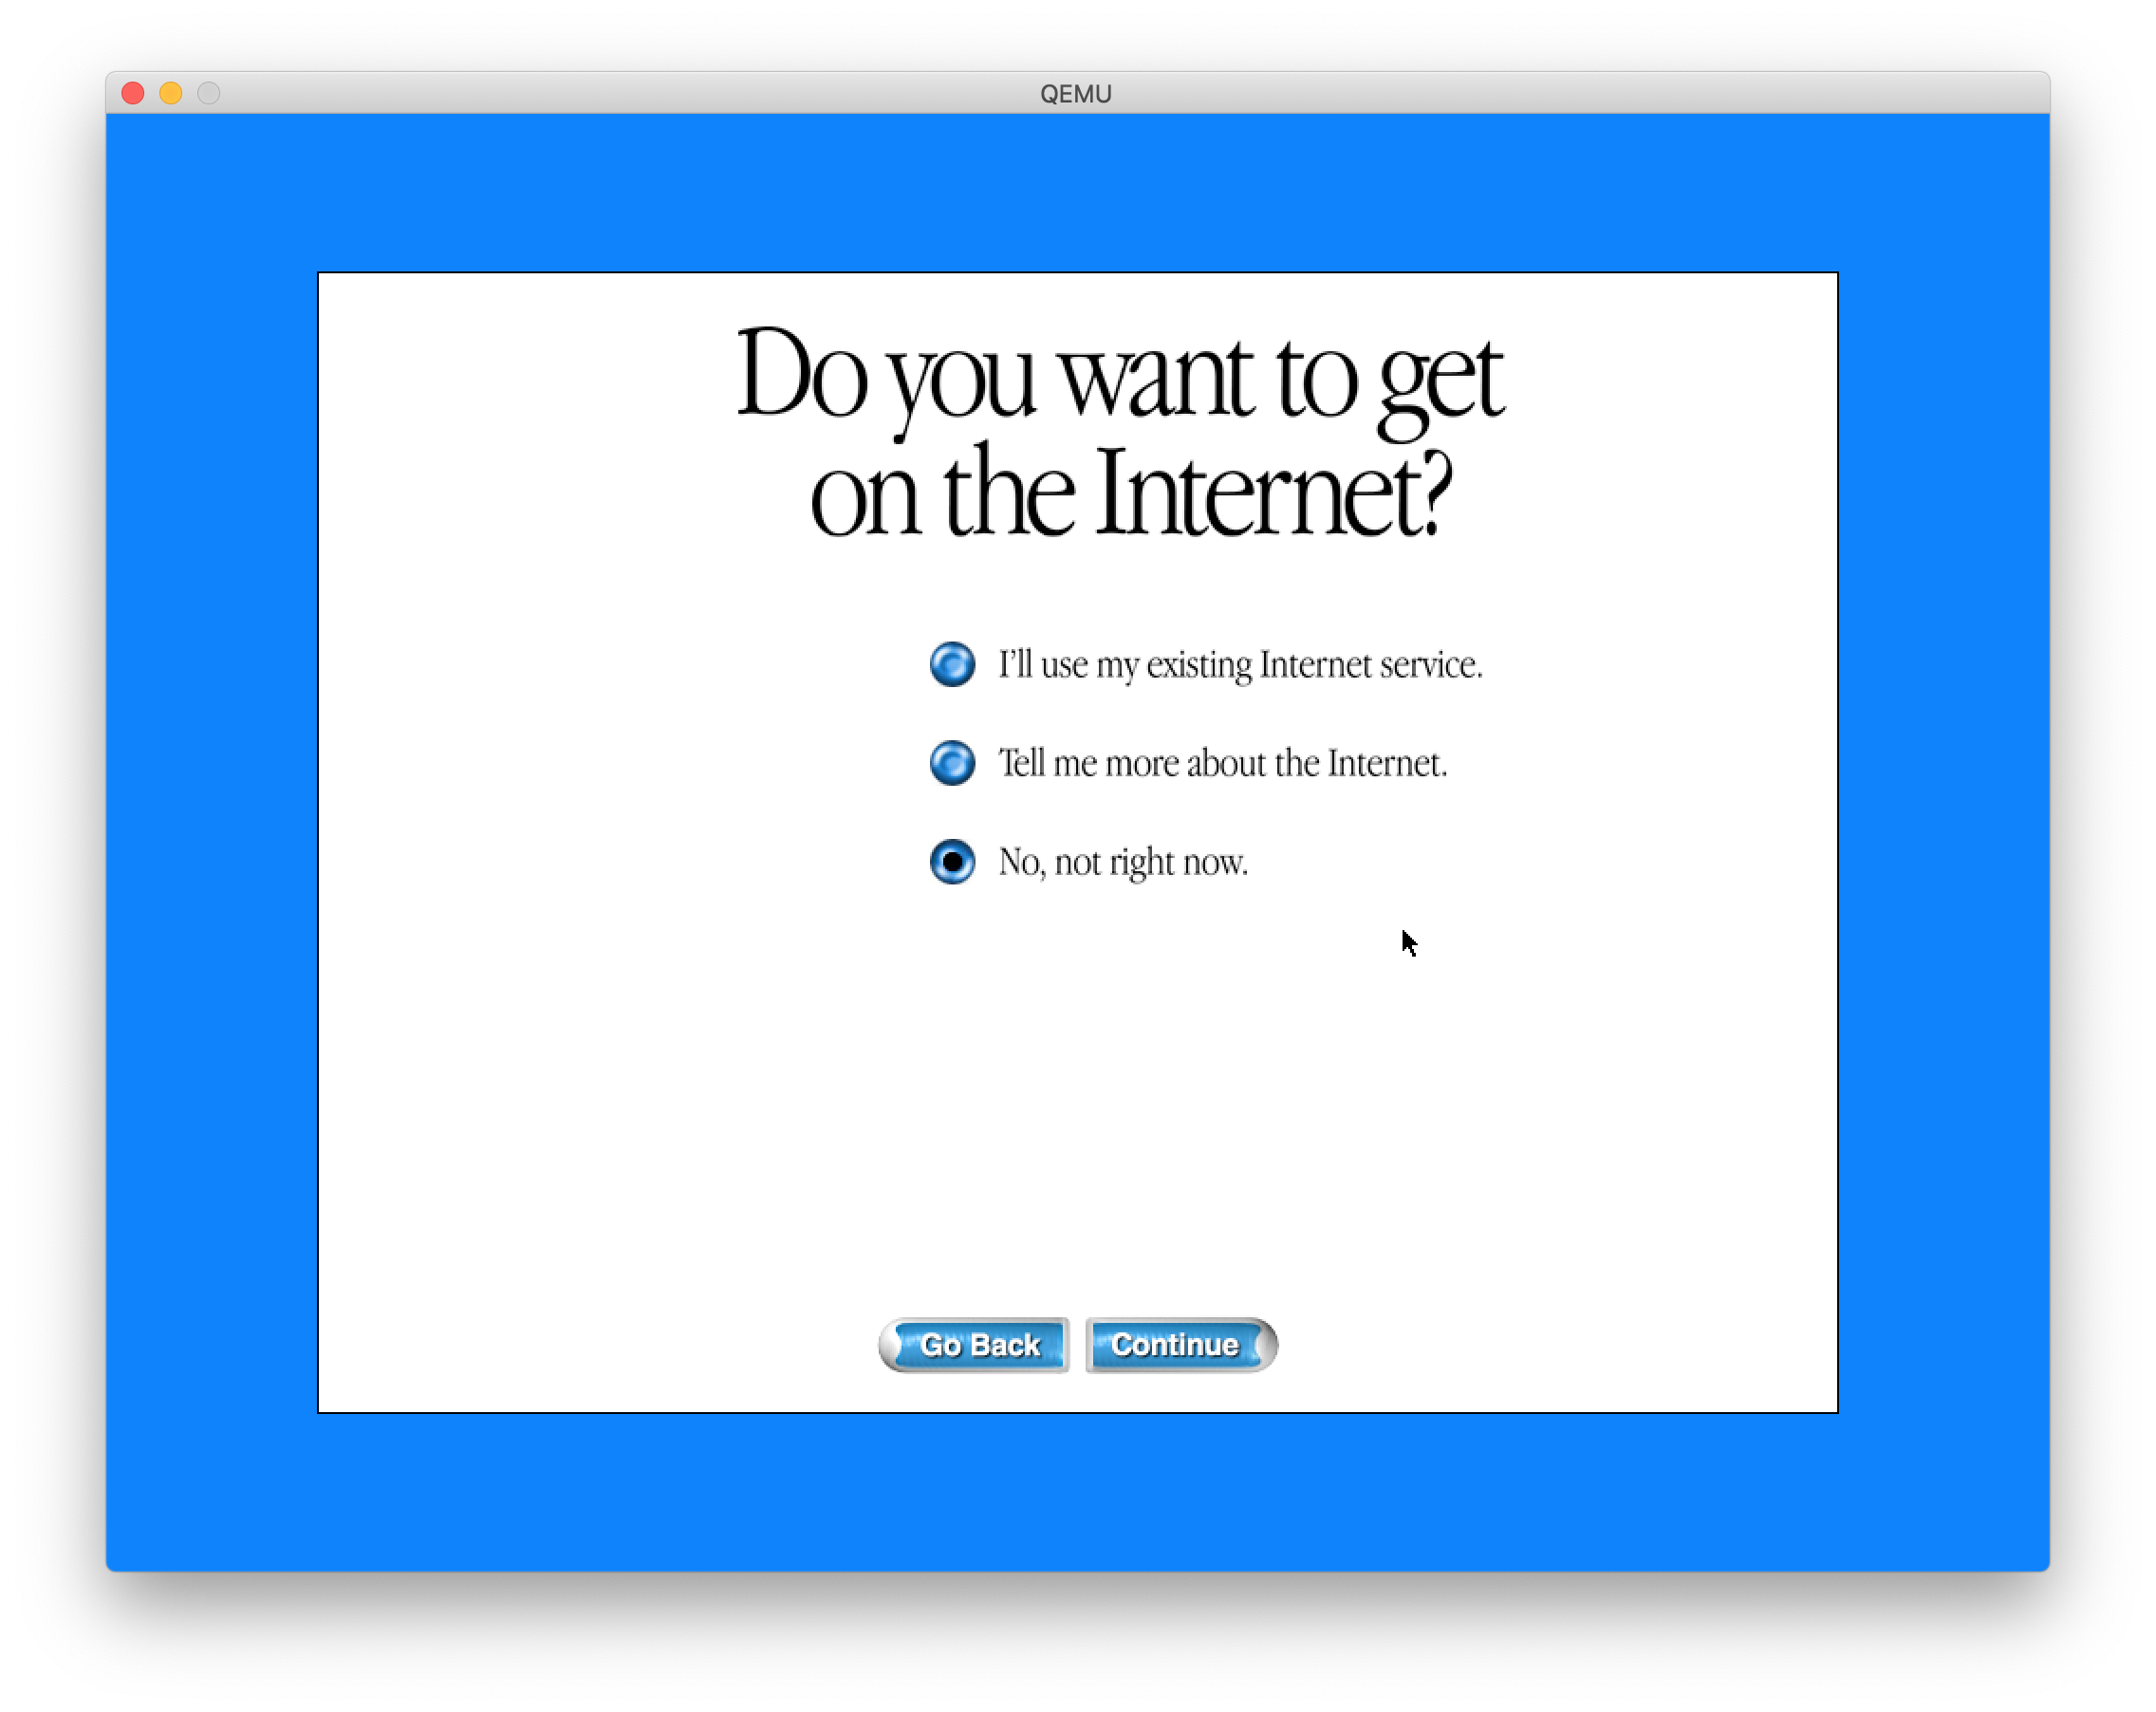
First, I had to get through the setup screen, which asked a lot of personal questions and then threw you into this screen:
With a bit of fiddling around I got MacsBug installed:
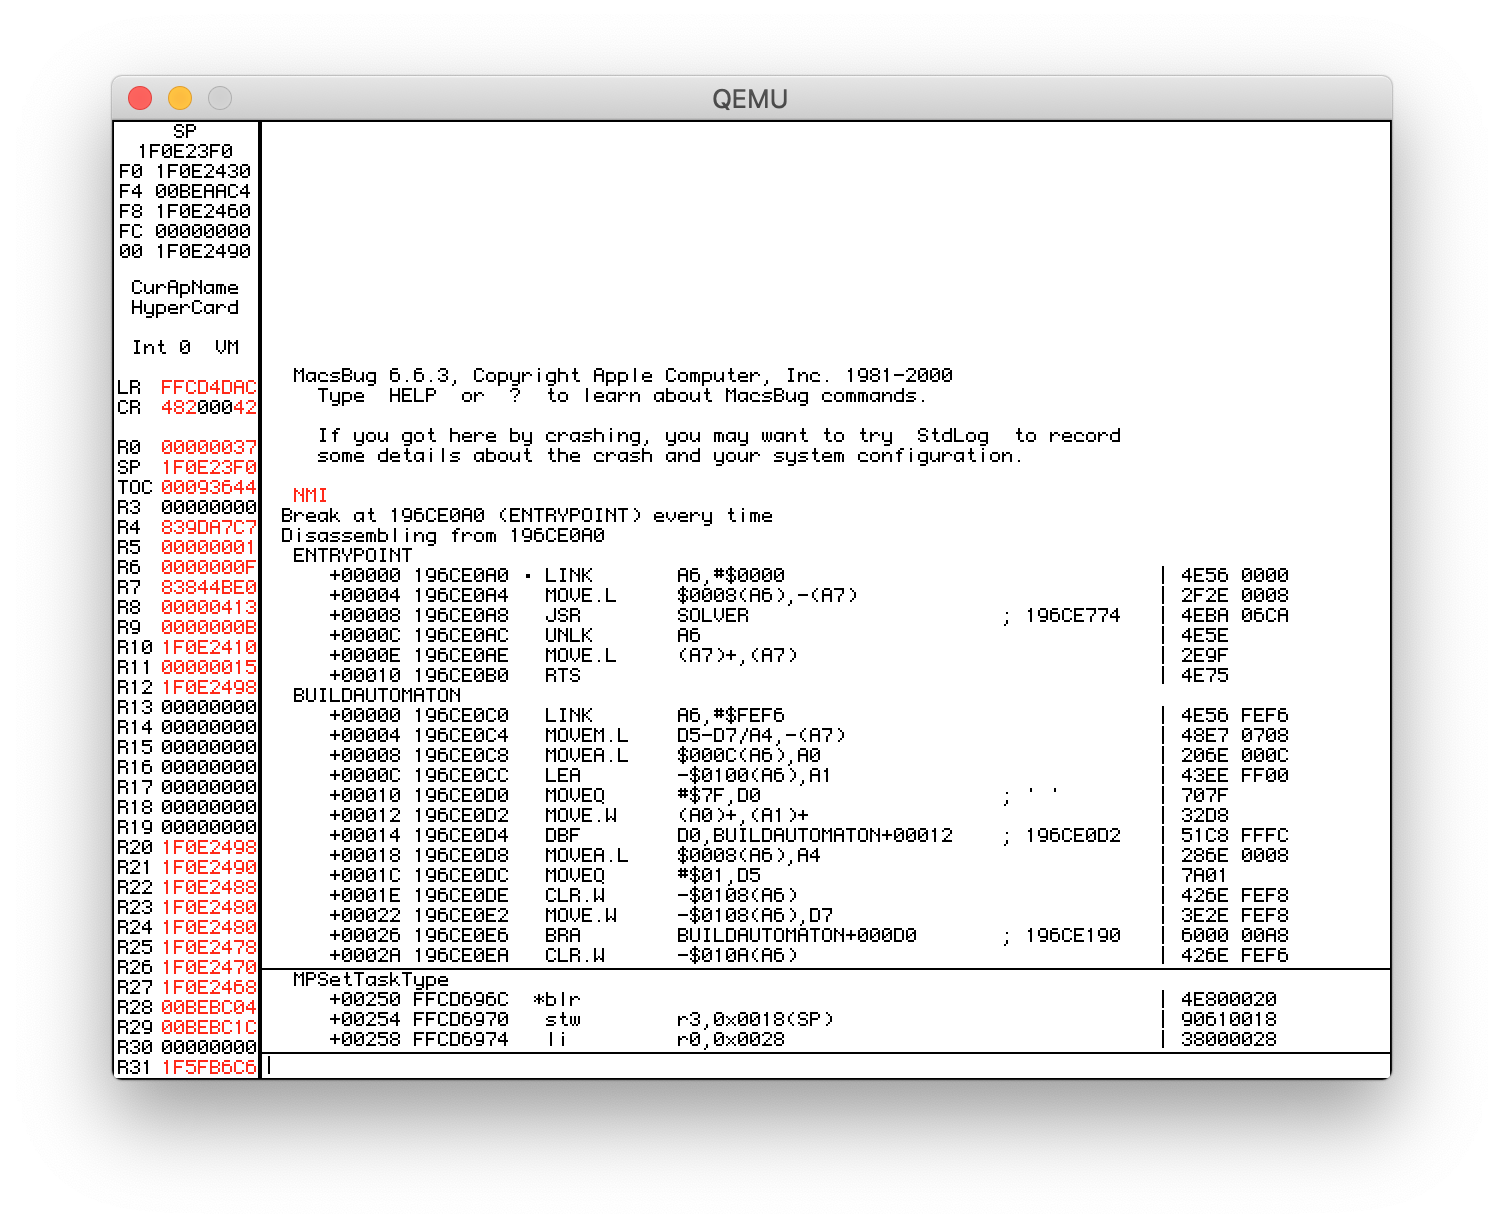
Using the QEMU monitor (-monitor stdio), it was easy to deliver an NMI to Mac OS and get it to successfully drop into MacsBug. It took a little while to get used to it, but after using MacsBug for a bit it seems quite nice; it even has a number of nice GUI features like being able to click on addresses! Initially I used the F (Find) command to find the function names in memory (since they are included in the binary) but ran into some snags. As Mac OS has no memory segmentation, I hit an issue similar to the one you may have run into when you grep the output of ps: you find your query itself! In this case, the search was probing through the entire address space and running into the query string in the debugger’s memory. Looking through the manual, I found the HZ (Heap Zone) command, which let me limit the space I needed to search, and after figuring out that the XCMD was dynamically loaded I managed to find the code and set a breakpoint in it using a raw address. However, I noticed that MacsBug had “symbolicated” the disassembly (IL, Disassemble From Address), so I pushed my luck and tried a straightforward BR (Breakpoint) with a function name. Apparently the XCMD had enough information to make this work, and from there working with the module was quite easy.
Paul and Eric abandoned the code they were working on as I got them up to speed on how to use MacsBug, and Paul quickly found the discrepancy between our script and the XCMD. Comparing square by square, the bug in the Python code was obvious: I had forgotten a pair of parentheses when creating the transition rules for green and blue squares, and our d0 or d1 == 0 statements were being interpreted as d0 or (d1 == 0) rather than (d0 or d1) == 0 as was intended. (In my defense, the table in Python’s documentation is in the opposite order from what I’d expect…).
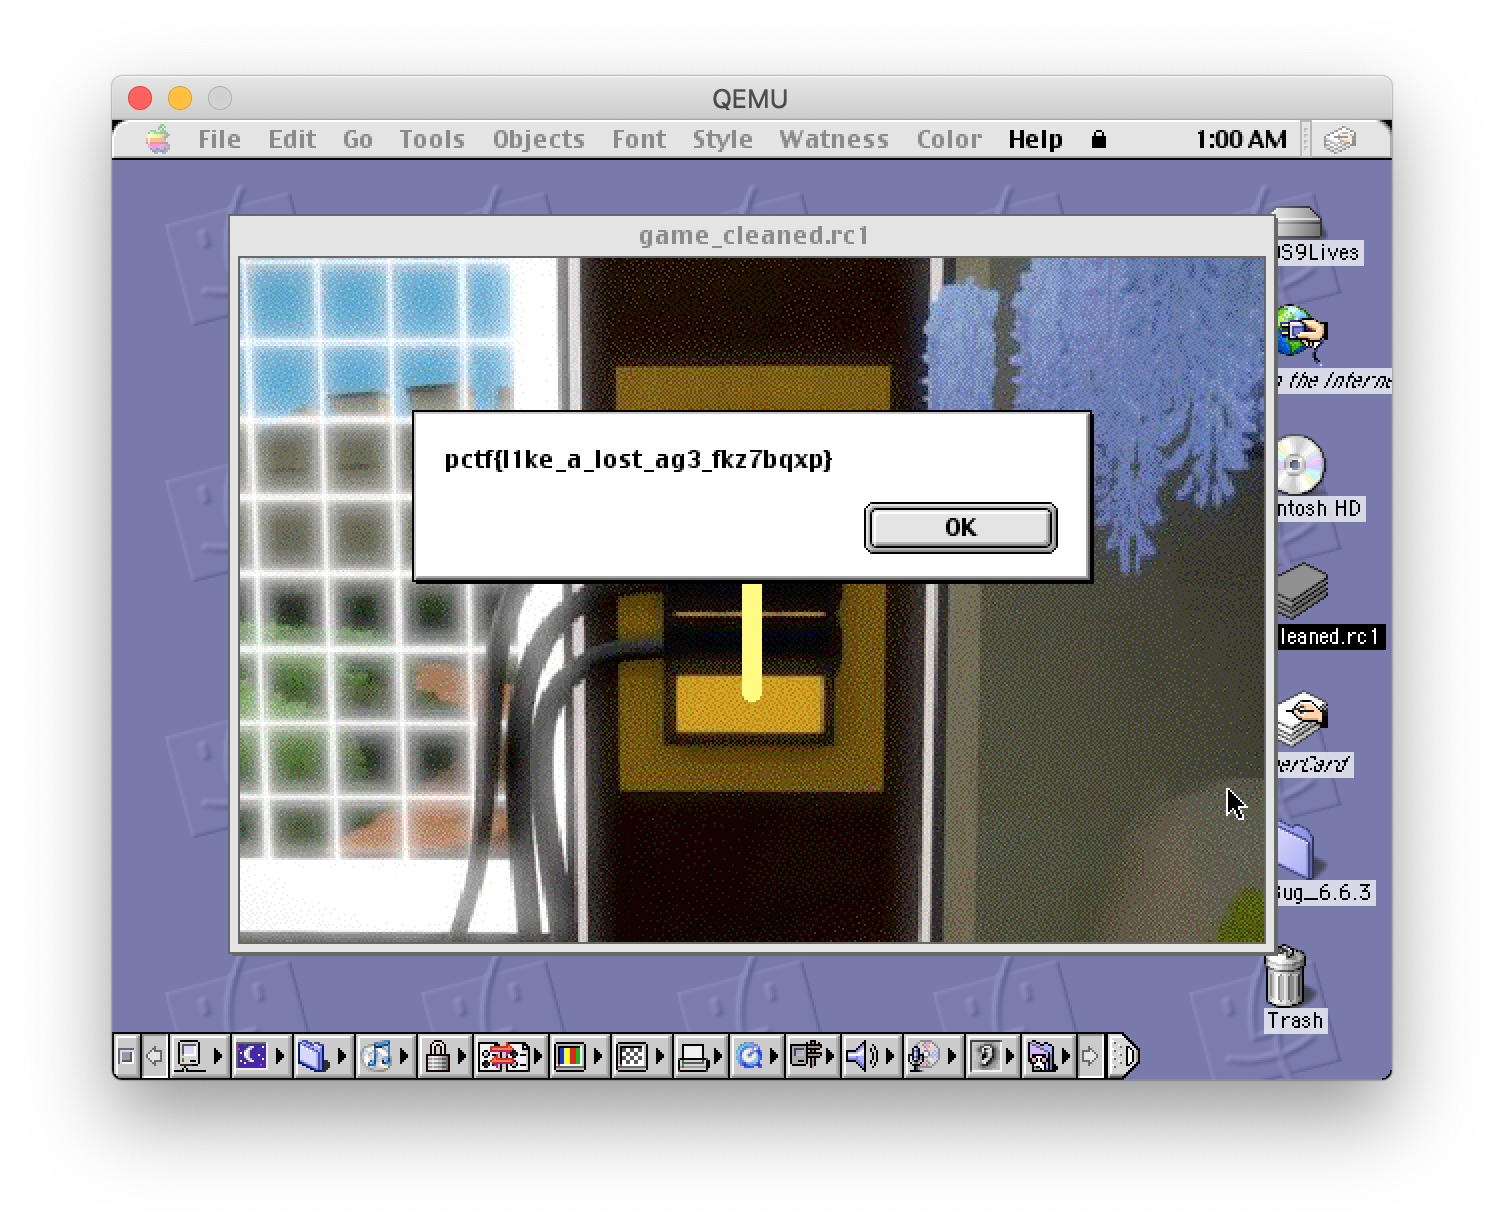
With the fix in place, Paul finished writing a DFS solver for the correct solutions, and we all watched as Eric shared his screen and clicked his way through the puzzles. Our efforts were rewarded with the flag, pctf{l1ke_a_lost_ag3_fkz7bqxp}.